
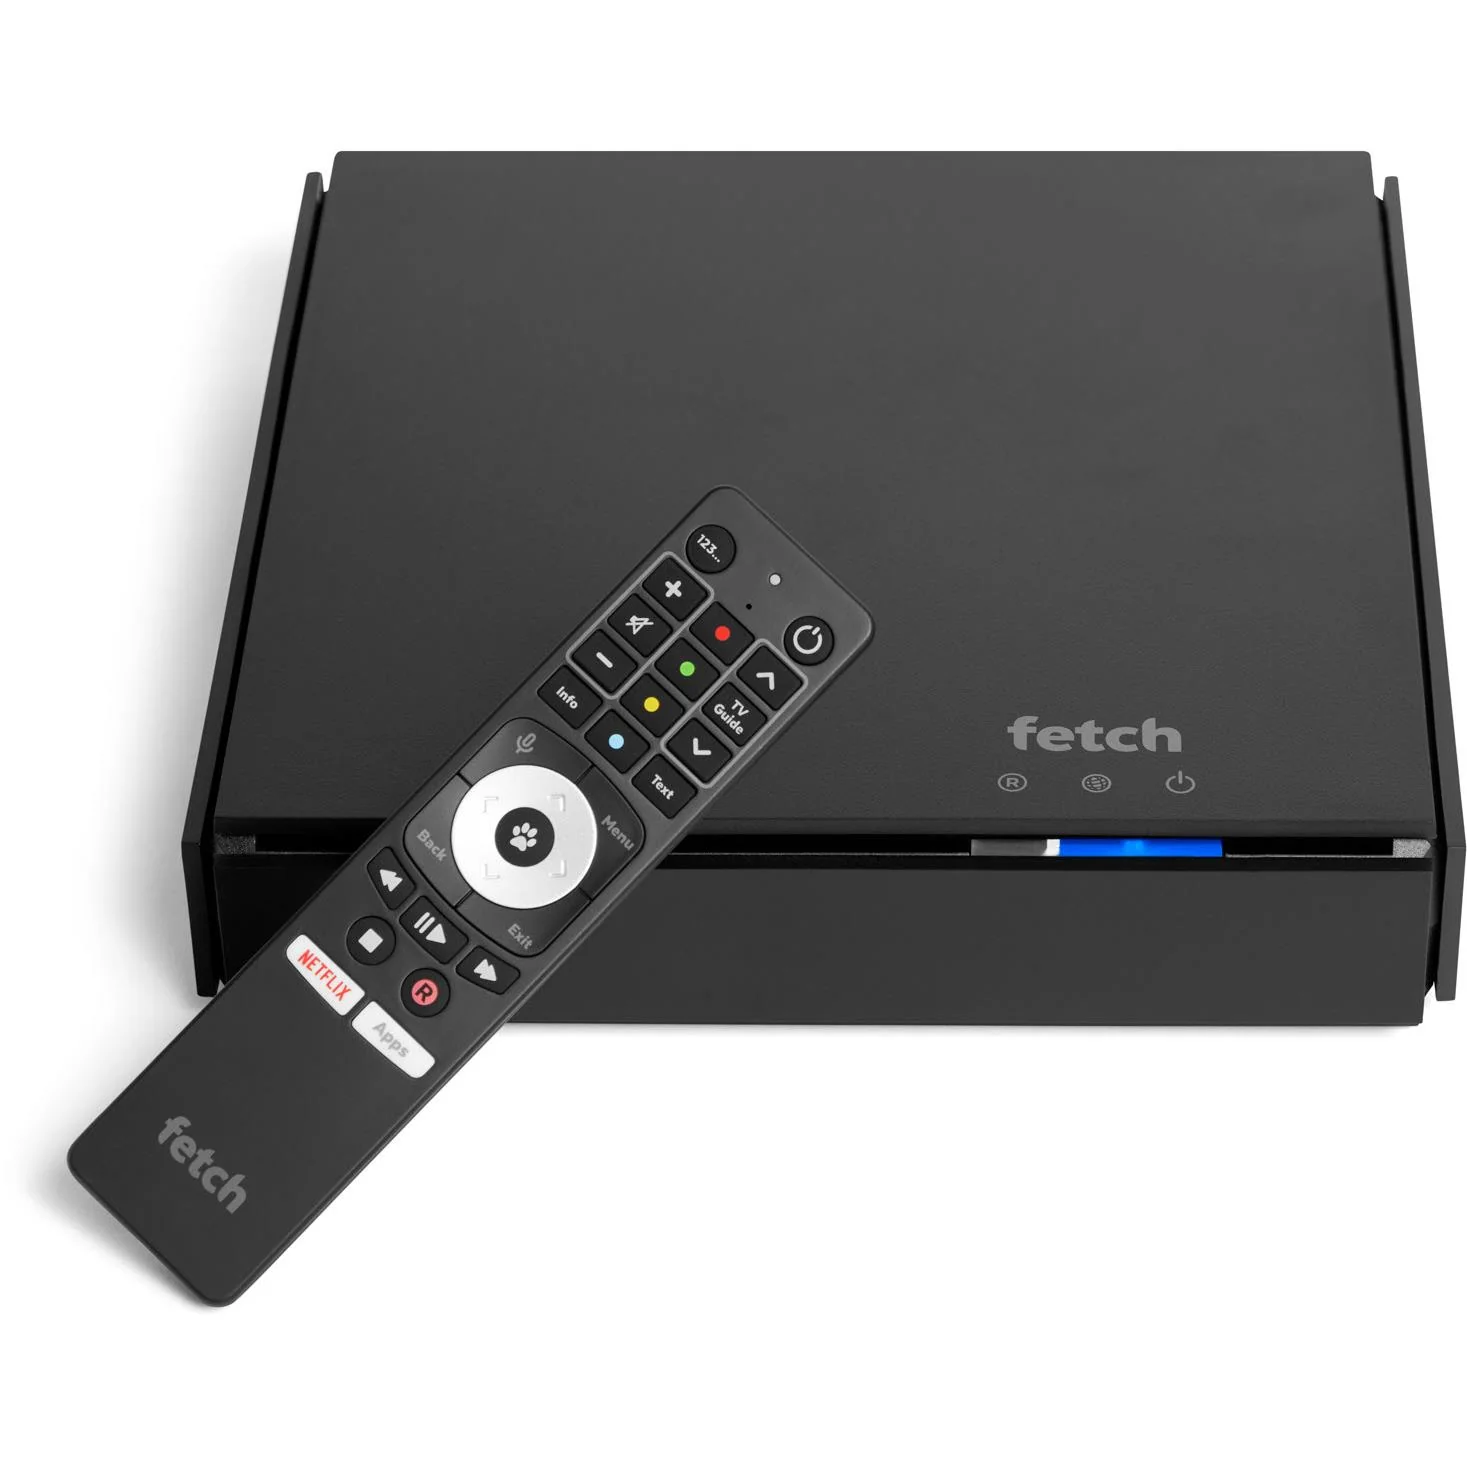
When a Fetch TV Mighty Dies: Upgrading to SSD
TLDR; You can upgrade the 1TB HDD in a Fetch TV Mighty to a 1TB SSD and you don’t need to clone or prepare the new drive.
Like most appliances, my Fetch TV Mighty had quietly blended into the background of daily life. It recorded shows faithfully, buffered live TV, and generally just worked. Until it didn’t.
The first signs were subtle. Playback was sometimes unreliable or pressing pause and play would misbehave, and eventually the box needed a restart and then refused to boot back up again. This message confirmed my worst fears:
“Critical Hardware Fault – HDD self check failed. Restart and if the problem persists contact your Fetch Service Provider.”
At that point, things weren’t looking great.
A Failing Disk, Not a Failing System
Pulling the drive out and attaching it to a Linux machine told a clearer story. The disk – a Western Digital WD10EURX – was detected, but it reported 0 bytes capacity. Kernel logs showed repeated attempts to spin up the disk, followed by timeouts and messages indicating the device was “not ready”.
This wasn’t filesystem corruption. It wasn’t even partition damage. The drive couldn’t complete its own initialisation process – most likely failing to read its internal firmware area.
In other words, the disk was effectively dead.
The Second Error (and What It Means)
Back in the Fetch box, another message appeared during boot:
“HDD failed to mount – please reboot and if the problem persists, contact support.”
This one is slightly more interesting. It means the system is up and running, but unable to mount the filesystem on the disk. In practice, it’s what you see when:
- The disk is corrupted
- The disk is blank
- Or (in my case) the disk is simply not responding
Together, these two messages tell a complete story: the hardware check fails, the system cannot mount storage, and the box cannot proceed.
Opening the Box (and a Common Assumption)
Before replacing the drive, I needed to actually get inside the unit. For that, I followed this teardown guide:
The video walks through the disassembly process clearly, including removing the existing hard drive and accessing the SATA connections. If you’ve never opened one of these units before, it’s a useful reference.
Interestingly, this video – along with many other guides online – suggest that you need to clone the contents of the original hard drive onto the replacement.
At first glance, that makes perfect sense. For most consumer devices, especially ones with embedded storage, you’d expect critical system data to live on the disk. Cloning would preserve that state and allow the device to continue functioning as before.
In my case, however, that approach wasn’t just unnecessary — it was impossible.
The original drive had failed and couldn’t even complete basic initialisation. There was nothing to clone, and no way to read sectors from the disk at all.
But more importantly, as the rest of the process revealed:
The Fetch TV Mighty simply doesn’t require the original disk contents to function.
The firmware and operating system live on internal flash storage, not on the hard drive. The disk is used purely for recordings and buffering, which means a completely blank replacement drive is not only acceptable – it’s expected.
So while cloning might sound like the “safe” option, in practice it’s not required for this device, and in failure scenarios like this one, it’s not even viable.
In hindsight, skipping that step entirely was the correct approach.
Replacing the Drive (and Upgrading It)
Rather than replacing the failed HDD with another mechanical disk, I opted for a small upgrade:
- A 1TB SATA SSD — the Crucial BX500
- Installed using an ORICO 2.5″ to 3.5″ drive caddy
From a reliability perspective, this removes the single most failure-prone component in the system. No moving parts, no spin-up delays, and no risk of another mechanical failure.
Also note that I stuck with 1TB size and didn’t go for more storage. I read a lot of forum posts with people claiming upgrading to 2TB, for example, just didn’t work, so I avoided that hassle. Realistically 1TB has always been enough for me anyway.
First Boot: Not Exactly Smooth
After installing the SSD and powering it on, the box booted up through the usual “Preparing system please wait…” screen, went black and then it started an overdue software update for 4.7 Horseshoe Bay (presumably because I left the Ethernet cable plugged in) and then after a small pause, the inevitable:
- “Critical Hardware Fault – HDD self check failed. Restart and if the problem persists contact your Fetch Service Provider.”
Hmmm, what do do? I left the box sit for a while, and at some point I restarted it and received a slightly different error which seems less serious:
- “HDD failed to mount – please reboot and if the problem persists, contact support.”
Which, in hindsight, makes sense — the system was perhaps expecting a pre-initialised disk, not a blank one.
The Reset Ritual
This is where things became a little less deterministic.
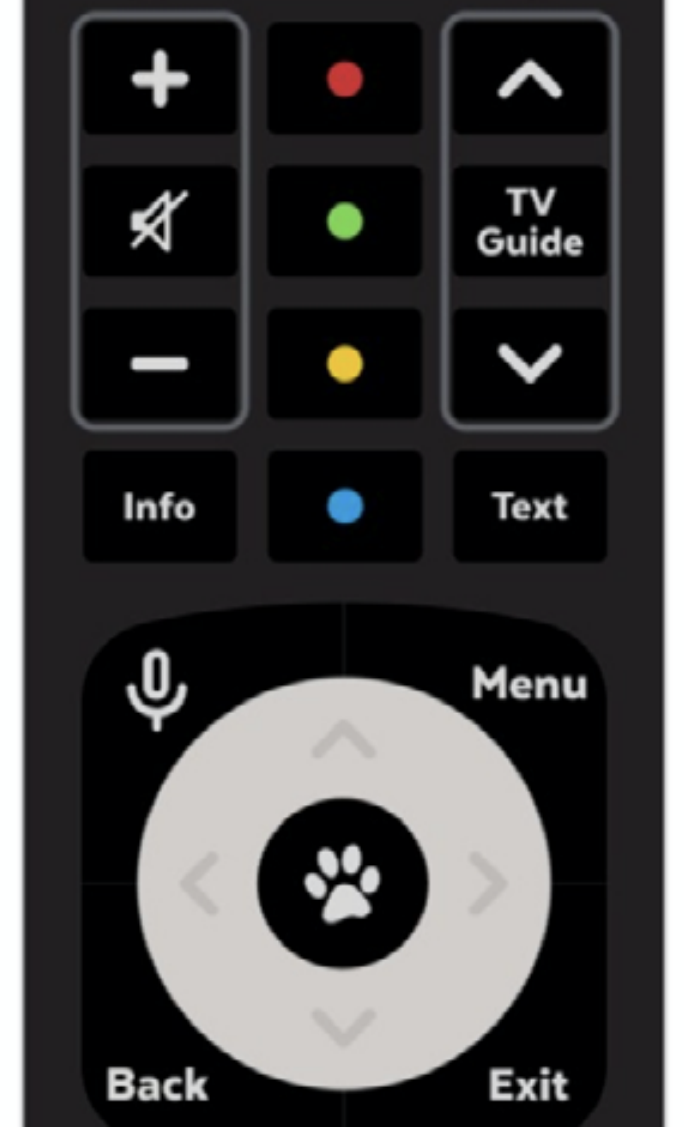
Documentation from all corners of the Internet including Facebook, suggests triggering a factory reset by pressing the coloured buttons on the remote in a specific order during boot:
Blue → Yellow → Green → Red (hard reset)
Red → Green → Yellow → Blue (soft reset)
In practice, neither worked consistently for me.
At some point — after trying a combination of button sequences and then pressing the “Paw” button on the remote — the box finally transitioned into what can only be described as a recovery or provisioning mode.
There was no clear “success” message — just a different behaviour.
The Turning Point: Activation Screen
The key moment came when the box rebooted and prompted for an Activation ID. This is effectively the “first boot” experience — the same process you get when setting up a brand new device.
That told me two things immediately:
- The system had reset successfully
- The new drive had been accepted
After entering the Activation ID via the Fetch website, the box completed setup and booted normally.
Automatic Disk Initialisation
Once the system was up, I checked the storage status — and everything looked exactly as it should:
- Disk detected
- Storage initialised
- No errors reported
No manual formatting, no partitioning, and no Linux tooling required. The box handled everything internally.
What This Actually Proves
There are a few useful takeaways from this process.
The first is that the Fetch TV Mighty is designed to recover from disk failure. It doesn’t require the original drive, and it doesn’t depend on any data stored there to function.
The second is that the error messages, while not especially user-friendly, are actually quite accurate. “Critical Hardware Fault – HDD self check failed” really does mean the disk has failed at a hardware level, and “HDD failed to mount” is exactly what it says.
And finally, perhaps the most practical lesson:
Sometimes the correct recovery strategy isn’t to recover – it’s to replace.
The End Result
What started as a failed hard drive ended with:
- A fully working Fetch TV Mighty
- A silent, solid-state upgrade
- Improved reliability going forward
No cloning, no donor device, and no need for professional recovery.
Closing Thought
If your Fetch box starts throwing hardware fault errors, there’s a good chance the problem isn’t as catastrophic as it looks. In many cases, it’s just the hard drive – and replacing it might not only fix the issue, but improve the device in the process.
And if nothing else, you’ll never have to hear that dying hard drive spin itself into oblivion again.
Categories
